How to Maximize Your Post-Production Process
Stockmusic.net team

A movie isn’t finished just because the cameras stop rolling. In fact, the work done afterward can sometimes be as complex and time-consuming as the filming itself. There are many moving pieces involved in a film’s post-production process, and each of these pieces needs to be in place before the film or video can be released.
When you maximize your post-production process, you give yourself the potential to maximize the quality of your project itself. Streamlining workflows, working with experts, and choosing the right effects can all elevate your project to a new level. Read below to learn what the post-production process is and how you can maximize it for the greatest benefit.
What Is Post-Production?
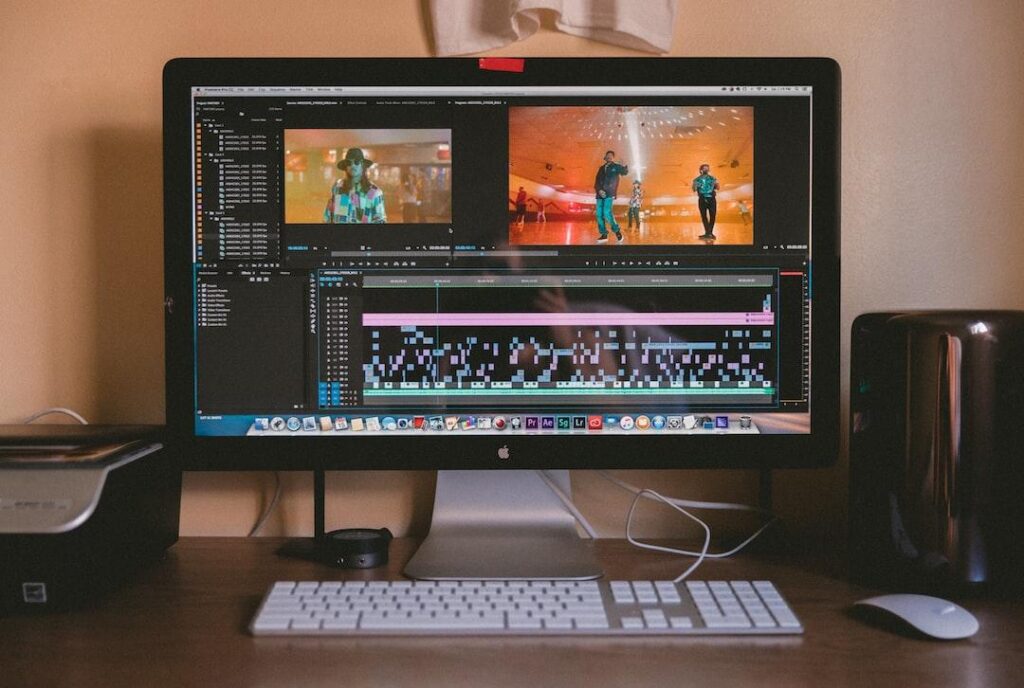
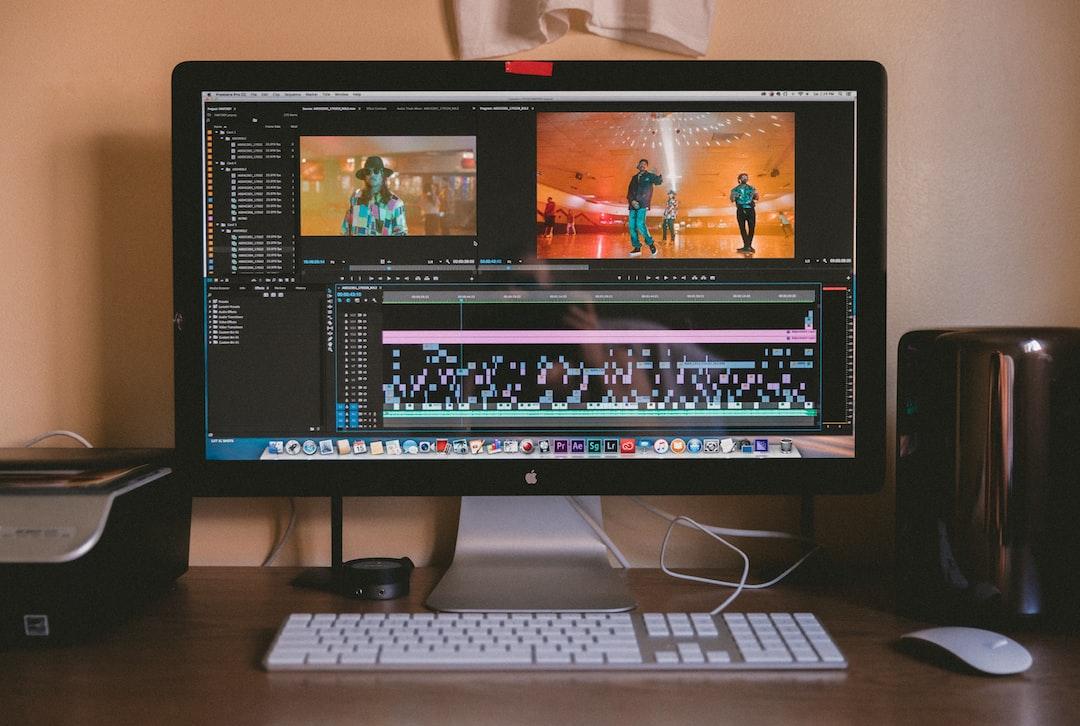
Post-production is the phase of filmmaking that occurs after the footage has been shot. During this phase, the footage is edited into a cohesive piece, and audio and visual effects are added. Post-production takes what’s been filmed and turns it into a movie or video. It’s one of the final phases of film production.
The specific steps involved in the post-production process will depend on the project. For example, the post-production process for an action film will be different from the post-production process in animation. But generally speaking, post-production involves seven key stages:
- Picture editing. Picture editing is one of the most important steps in the post-production process. In this stage, the raw footage is cut and spliced to create a coherent story. This step also helps set up the project’s overall tone, themes, and characters.
- Sound editing. The audio editing stage sometimes happens alongside the picture editing stage. During this step, sound designers fine-tune recorded audio and add sound effects to enhance what’s happening on-screen. This may also include automated dialogue replacement, in which an actor re-records their dialogue.
- Music editing. During the music editing stage, chosen music is recorded, or licenses are obtained. This music is then added strategically to the film to invoke the right emotion or atmosphere.
- Sound mixing. The sound mixing phase is when sound levels are adjusted so viewers can hear everything they’re supposed to hear. During this phase, the bass and reverb, for example, may be adjusted to pull everything together.
- Visual effects (VFX). VFX can be used for a wide range of things, and some films and videos will use more visual and special effects than others. VFX may include things like animation and computer graphics imagery (CGI).
- Color editing. In the color editing phase, the color hues and tones of the film are adjusted and edited. This helps create consistency throughout the film and crafts the right atmosphere for the story.
- Motion graphics. Motion graphics are used for titles and credits. The complexity of these can vary wildly between projects. During this phase, the motion graphics elements are designed and added into the film.
By the time the entire post-production process is finished, the film should be ready for release.
6 Tips for a Streamlined Post-Production Workflow
The post-production phase of a project can involve a lot of work and many steps. By streamlining your post-production workflow, you can make the post-production process more efficient and reduce the risk that you’ll miss something.
Organize the Raw Footage
Creating a consistent, easy-to-understand system for organizing your raw footage will make life easier for almost everyone on your post-production team. Well-organized files are easy to find, and you have the added benefits of being able to see what you have at a glance and potentially reducing storage space.
When organizing your footage, don’t scatter files between various folders and drives. Keep everything in one central location. This allows you to transfer and back things up more easily and helps ensure footage doesn’t get lost.
Choose a naming and filing format that is clear and repeatable, and try to avoid using too many subfolders, which can make navigation confusing. You can name files after the date of filming, the filming location, or the specific scene, whatever you prefer. The important thing is that the naming system is uniform so that anyone working with the file management system immediately knows what they’re looking at based on the file or folder name.
Begin the Editing Process by Making Some Rough Cuts
Rough cuts are done in the picture editing stage of the video and movie post-production process. A rough cut is done by putting together footage of each scene in sequential order. Usually, there aren’t any special effects or audio edits for these rough cuts, though you can add them if you’d like.
The goal of a rough cut is to figure out which scenes work best together, how long each scene is, and how well the movie flows.
Creating a rough cut has several steps, including:
- Use a storyboard or similar format to outline the structure of your video or film.
- Choose the specific clips you want to use and note the timestamps.
- Extract the footage to create your clips in your editing software.
- Put the clips in the right order.
- Play the sequences through to make sure they flow.
- Reclip the footage if the flow isn’t right.
- Add placeholders for special effects if needed.
Once the rough cut is approved, the film can move on to the next stage of editing.
Find the Right Audio for Your Project
In many ways, the audio post-production process is just as important as editing the footage. Audio can transform a film by creating an atmosphere that entrances viewers. A film is so much more than dialogue. You need sound effects like cars honking, dogs barking, or rain falling to help set up a scene. Likewise, the music you add to the background can conjure emotions, create tension, and make a scene memorable.
The right music and sound effects can take your project to another level. Access to a well-stocked library of music and sound effects, like what Stockmusic.net offers, makes it easy to find the perfect sounds to incorporate into your project.
Work With a Visual Effects Specialist
Good visual effects bring your project to life, while bad visual effects can ruin the project. In fact, some films are remembered more for their stunning visual effects than for their characters or story. To help keep your project on track, find a qualified, experienced visual effects specialist to work with.
Visual effects specialists are trained in creating visual effects for videos and films. They should be able to use their skill to bring your vision to life. Whether you’re looking for animation or stunning scenery, a good visual effects specialist should be able to take your concept and put it on-screen.
Focus on Color Corrections Before Color Grading
Color editing allows you to adjust the coloring of your film. This can be done to enhance colors, make them look more natural, or add a tone to invoke the right atmosphere. Color correction and color grading are both important parts of color editing.
Color correction is done to make the footage look the way the human eye would see the scene. Often, the colors in the raw footage are oversaturated or unbalanced. Color correction seeks to rectify these issues. This usually involves normalizing the footage as much as you can, and then fixing the saturation, brightness, contrast, and white balance.
Once your colors are balanced and natural, you can move on to color grading if you prefer. Color grading is another tool used to create an atmosphere and craft a certain aesthetic. For example, horror movies often have high contrast and blue or green tones, while sci-fi movies often use inverted color palettes or contrasting colors like teal and orange. Adjusting the overall color scheme, brightness, contrast, and saturation can set the tone for the whole film.
The main difference between the two is that color correction is meant to adjust colors on film so that they look closer to how you would see them in real life, while color grading is done for style. The changes made during color correction are often more subtle, whereas color grading can completely change the overall look and feel of a film or video.
Incorporate Post-Production Project Management Software
There are many project management software solutions, but most tend to be too general and try to help too many businesses. Using software specifically for video production can make a large difference. There is a project management software designed and written by professional video production company call CROO. We recommend integrating your entire production process through to post-production with a video project management software such as CROOW. The team at CROOW really understand what it takes to complete video projects and getting the production through post. The CROOW project management software helps streamline logistics, automatically transfers up-front project knowledge and assets, and even helps better integrate the client for feedback.
Optimize Your Post-Production Workflow With a Library of Royalty-Free Music
Optimizing your post-production workflow allows you to streamline the editing process. This saves you time and money and helps you stay on top of each stage of the post-production processa. By maximizing your post-production process, you can create a polished, cohesive project, from color bars to credits.
Stockmusic.net is here to assist you during the post-production process with a full library of royalty-free music and sound effects. Stockmusic.net can help you find and secure the perfect music and sounds for your project and can also help if you’re looking to publish your own music. Reach out to contact@stockmusic.net with any questions or to get started.
