How To Use a Green Screen
Stockmusic.net team
What Is a Green Screen?
A green screen is a large, flat, evenly colored surface intended to be removed and replaced from the camera footage. They’re ideal for creating virtual backgrounds, seamlessly adding visual effects, and inserting subjects into scenes. Green screens are removed from footage using chroma key technology, usually during post-production. However, some filmmakers use virtual video production to remove the green backdrops while the camera rolls.
Green screens aren’t always green. Some of the most common chroma key backdrops used in movies today are blue screens because blue is less noticeable and easier to remove from reflective objects. However, which screen color works for each production may be based on the visual effects team’s preferences and what colors are in the frame. For example, if an actor wears bright blue and green clothing, the screen must be changed to a different shade of green, blue, or another color.
Current VFX advances, such as the StageCraft LED video wall used in The Mandalorian, are giving green screens a run for their money with automated 3D video backgrounds. Despite this, green screens and chroma key technology are still regularly used in most VFX-heavy productions – especially those unable to afford Industrial Light & Magic (ILM) technology.
How To Use Your Green Screen
Due to the intricacies needed for chroma keying, it’s essential to know how to use a green screen for photos and videos before you capture any footage. Otherwise, you may be left with more post-production work than necessary, or the footage may be unusable.
Choose the Right Location With Good Lighting
Lighting is the most important part of filming with a green screen, especially for the sanity of your post-production team. A green screen with evenly distributed light will be easy to remove from the footage, as nearly every backdrop pixel should be about the same shade. Comparatively, a green screen with uneven lighting and coloration will be much more challenging to remove. It may even require editors to rotoscope the footage frame-by-frame.
Keep lighting your top priority when choosing a filming location, especially if the green screen is the entire background and not integrated into a physical set. When possible, film green screen scenes indoors, out of the reach of daylight, in spacious rooms, and in a location with plenty of power outlets.
Select the Right Equipment
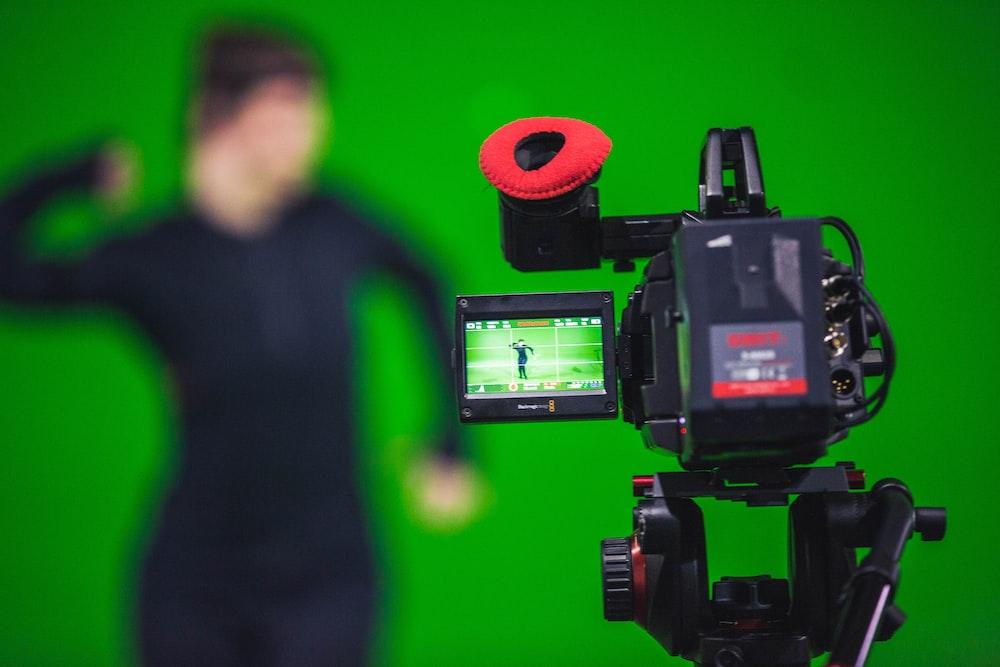
When preparing for a green screen shoot, double-check you have all the right equipment. Start by ensuring you have a high-definition camera, as poor-quality video footage can make the green background image challenging to remove.
Next, you will need a green screen and a way to hold it up. Collapsible and elastic green screens are much easier to work with than cloth screens as they have fewer wrinkles and are tougher to break. Finally, your backdrop stand should be at least 10 feet tall if you’re filming with actors. The screen doesn’t need to take up the entire camera frame, as excess background details can be removed later. However, it should cover everything immediately behind your subjects for fast and seamless background removal.
Adjust Your Camera Settings Accordingly
When adjusting your camera for a green screen shoot, you’ll primarily want to focus on its ISO levels, which impact your camera’s sensitivity to light. You should generally keep your camera’s ISO low when filming on green and blue screens. With less light intake, the camera will pick up more color details, resulting in less grainy images and easier chroma keying. Other settings to consider include your camera’s shutter speed, motion blur, and aperture.
Use Chroma Key Software for Editing
Most advanced video editing tools include some form of chroma key removal, though they may not always be reliable or free to use. For example, some programs like After Effects and Davinci Resolve are better at removing green screen reflections from surfaces like human skin tones than others.
If you struggle with chroma keying using your current editing tool, consider trying it in another program or investing in a specific chroma key software. Video editing software with chroma key features include:
- Adobe After Effects
- Adobe Premiere Pro
- Blender
- Davinci Resolve
- Final Cut Pro
- HitFilm Express
- iMovie
- Lightworks
- PowerDirector
Enhance Your Videos With Visual Effects
Without proper VFX, many viewers will quickly notice when a scene is filmed on a green screen, often without even trying to look. This takes audiences out of the narrative and message, which is never ideal. Popular movies with obvious green screens include Ant-Man and the Wasp: Quantumania, Spy Kids, and King Kong (2005).
Integrating VFX into your shot, beyond just the background, will help make green screen scenes feel more natural and less noticeable. For an easy example of this, consider a scene with falling snow. Using two layers of VFX snow, one in front of the subjects and another behind them, will help the foreground and background feel like one succinct image.

Green Screen Mistakes To Avoid
A lot can go wrong when filming with a green screen. Some problems can be solved in post-production, such as green showing on reflective objects, but not all. Watch for the following mistakes when working with a chroma key screen:
- Standing too close to the screen
- Using props and costumes the same color as the background
- Creating shadows on the screen
- Unevenly lighting the screen
- Allowing the screen to move during a shot
Set the Scene
Green screens can entirely replace the background of your videos and take your actors to alien and immersive worlds. What sound effects and music you use will directly impact this immersion by engaging with the audience’s other senses. Visit our library of royalty-free stock music to find the best audio options for your project.