Color correcting and color grading are essential aspects of post-production, where a video's color is restored, stylized, and brought to life. In this guide, we'll cover everything you need to know to perfect your project's image, including the key differences in color correction vs. color grading.
What Is Color Correction?
Color correction is a step in post-production where the footage's color is analyzed and "corrected" to ensure high color consistency and quality. This process is more focused on image precision than style. Essentially, you're restoring footage to what it should have looked like on the day, erasing impacts from the camera, settings, lighting, and countless other factors.
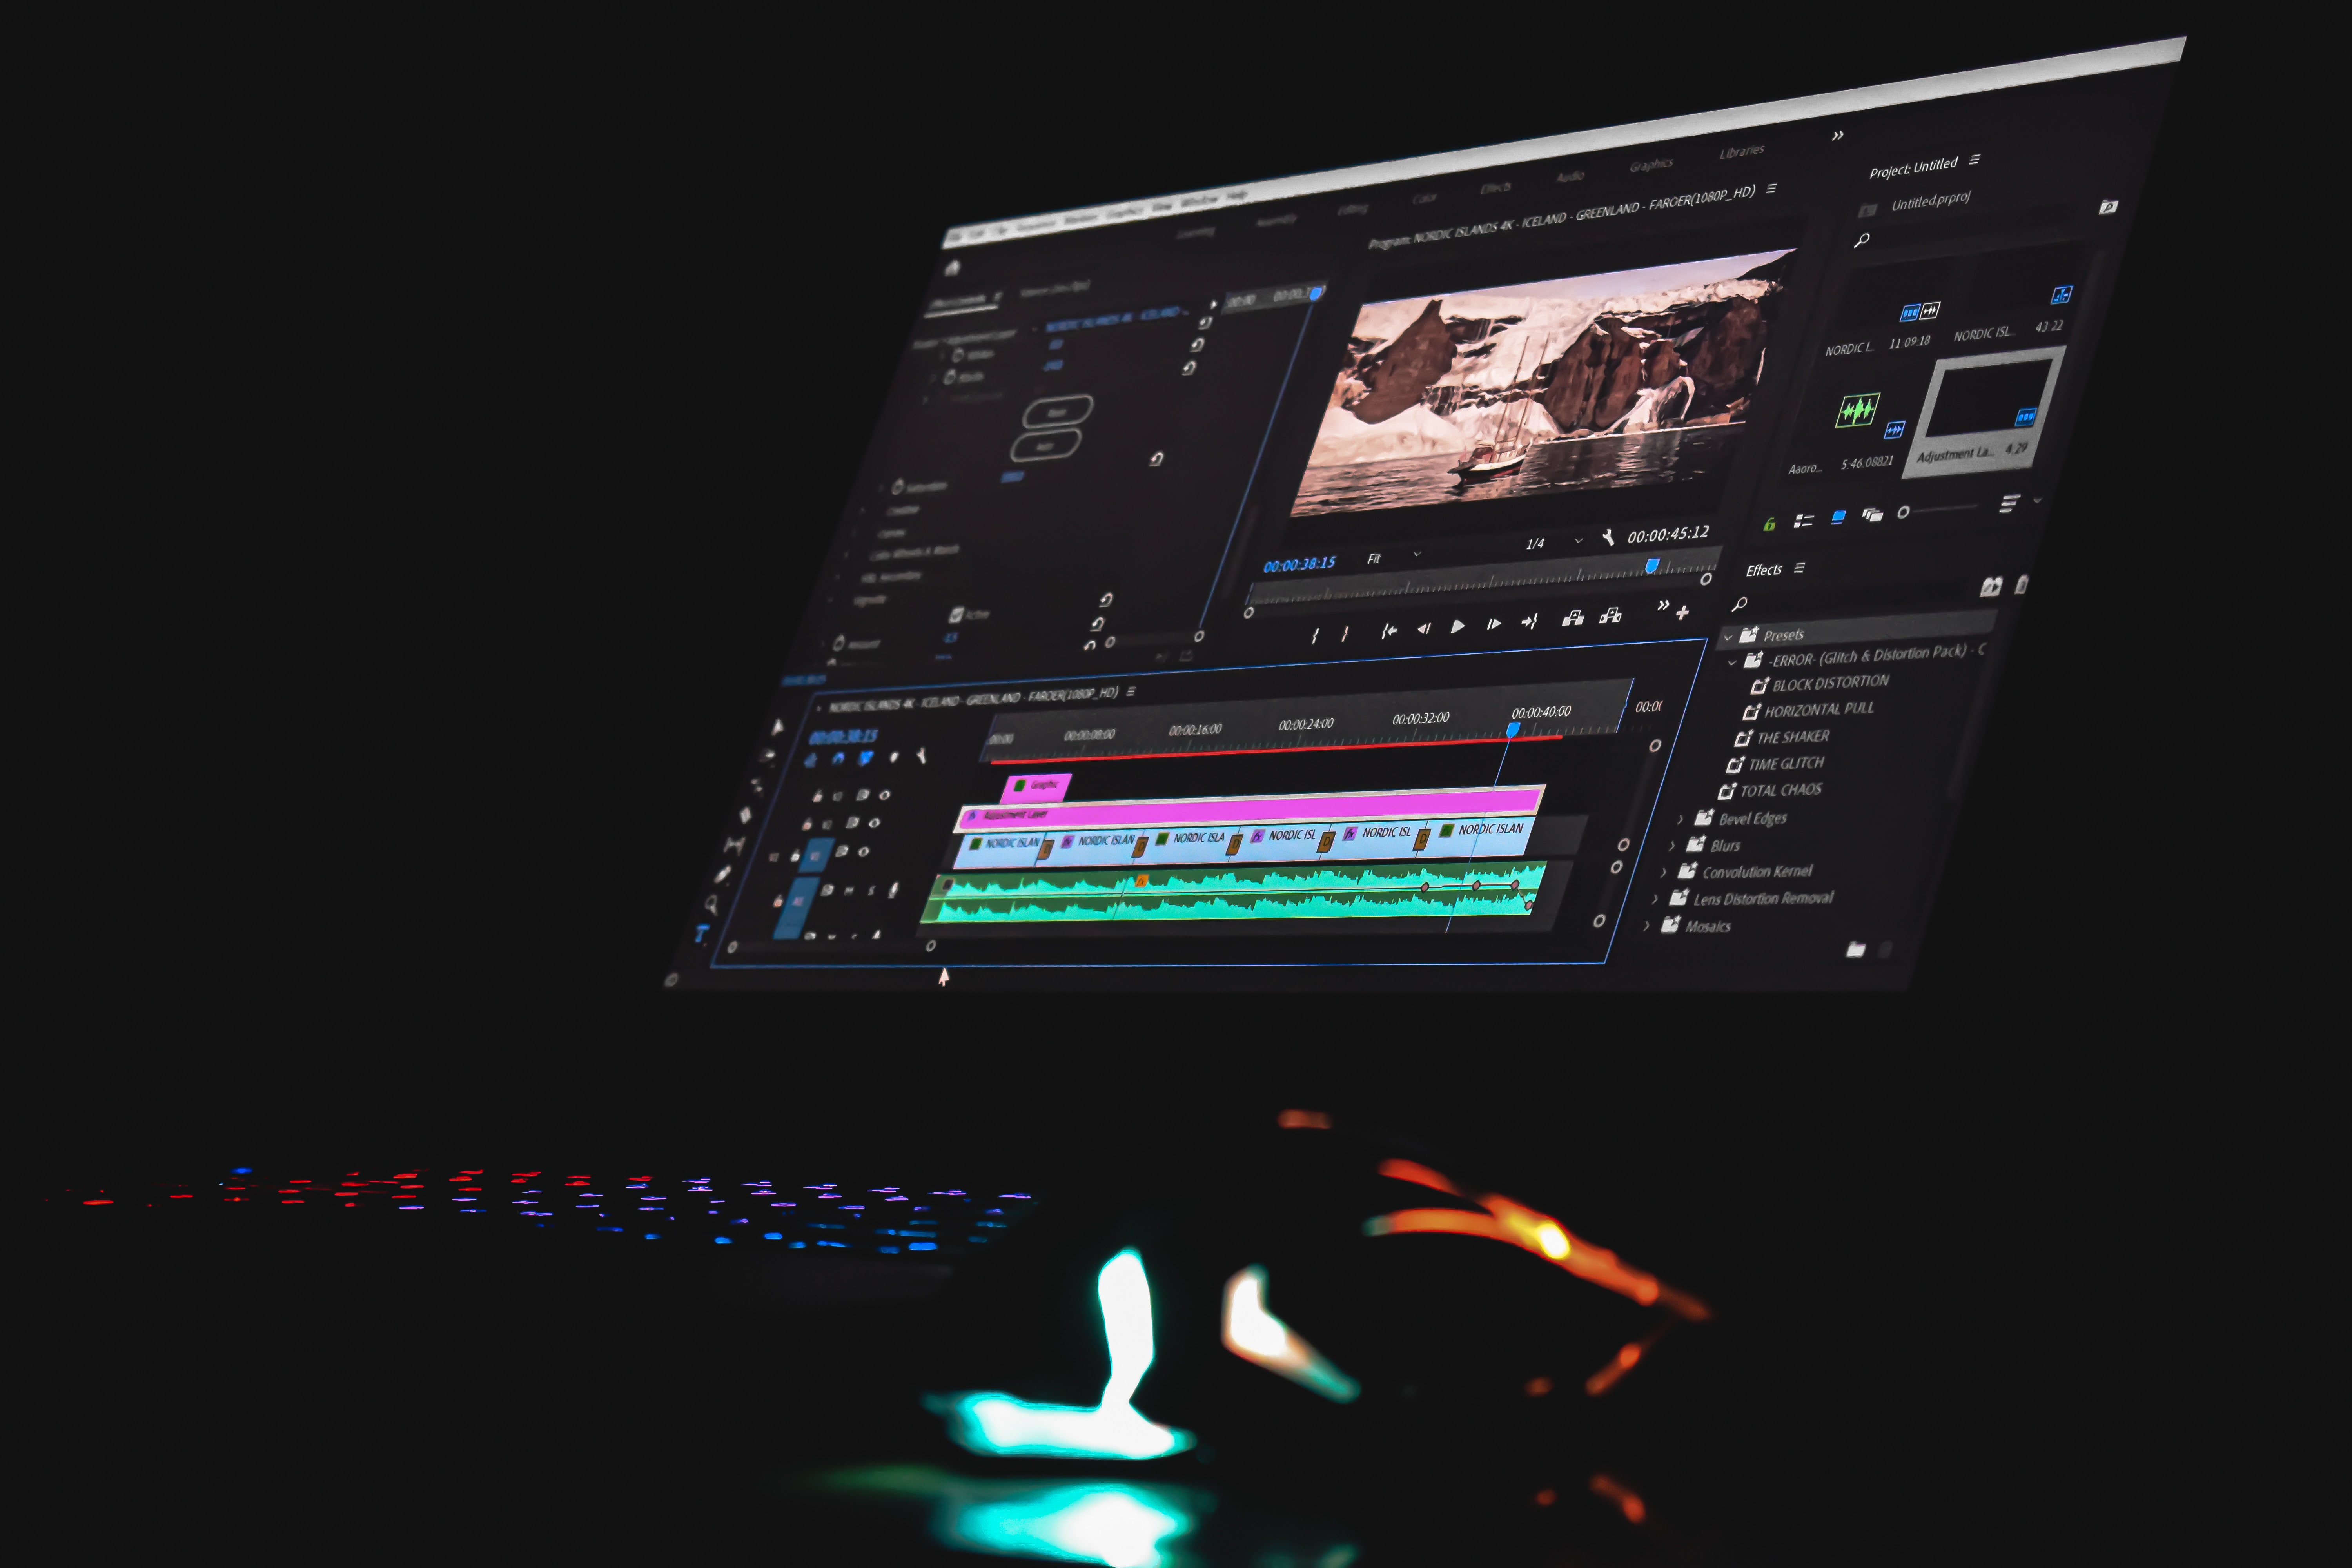
Most high-level video editing programs, such as Adobe Premiere Pro and DaVinci Resolve, already include color-correcting software sufficient for most projects. That said, many artists prefer to collaborate with professional editors specializing in color correction, particularly for more challenging projects, as the technical process is somewhat complex.
Technical Process of Color Correction
To begin the color correction process, first, analyze your footage's current color levels, including its black-and-white balance, primary colors, and color wheel. Search for any unbalanced levels, particularly concerning how you feel the video image should look, and make adjustments as needed. Read on to learn more about how to color-correct your project.
White Balance
Your footage's white balance should be the first color level you check. Start by identifying any items in your video that should appear white, such as a cloud, napkin, or eye. If none of your footage includes anything white, start with the lightest-colored object instead.
Gauge whether the object appears as white as in person — in most cases, it doesn't. Then, consider what is taking away from the white object's color, such as contrast-heavy lighting or a color cast.
When working with Premiere Pro, use the Lumetri color panel to adjust your video's levels accordingly, such as by increasing the white levels and decreasing interfering colors, until it reaches "true white." As you go, ensure white levels are consistent across all footage in the same scene.
Black Levels
As you analyze and adjust your video's white levels, you should do the same with its black levels. Understanding the levels of shading is crucial to refining the image, especially for darker footage. Start by identifying the darkest part of your video, such as a boot or a tire, and evaluate its levels compared to where they should be.
When working with Adobe software, 16 on the color scale represents "pure black," while 235 represents "true white." So, you have a lot of room to play around with color differentiation. For the sake of contrast, keep shading consistent across scenes but different across objects. For example, if an unlit black boot is scaled down to 16 on your color scale, a pair of somewhat lit sunglasses should scale relatively higher.
Primary Colors
Primary color correction is where you get to focus on the colors themselves. In this process, analyze your footage's primary colors and tonal range compared to where you believe they should be. For example, if your clip is of a grassy field on a bright day, the primary colors with the most focus should be green and blue.
Once you've recognized an imbalance, such as the grass appearing yellow when it should be green, use tools such as "color balance" to adjust the primary colors of the entire image. Remember, as color correction is about precision rather than style, be as minimal as possible in your primary adjustments. In other words, don't overwhelm the screen with green, and keep an eye on your waveforms as you adjust.
Secondary Colors
Secondary color correction is a step in both color correction and color grading that focuses on individual colors and sections. Let's say you want a specific shade removed from a scene, such as yellow dandelions in a green field. You can use secondary color tools such as "change color" to select the different yellow tones of the dandelions and color-match them with the rest of the green field.
This process can also be used to correct individual sections. For example, if part of a background is shadowed or lit by a different-colored light, you can use masks and tracking to select the areas that need to be recolored without affecting any other parts of the image. In color grading, secondary coloring can also draw attention to certain parts of the screen.
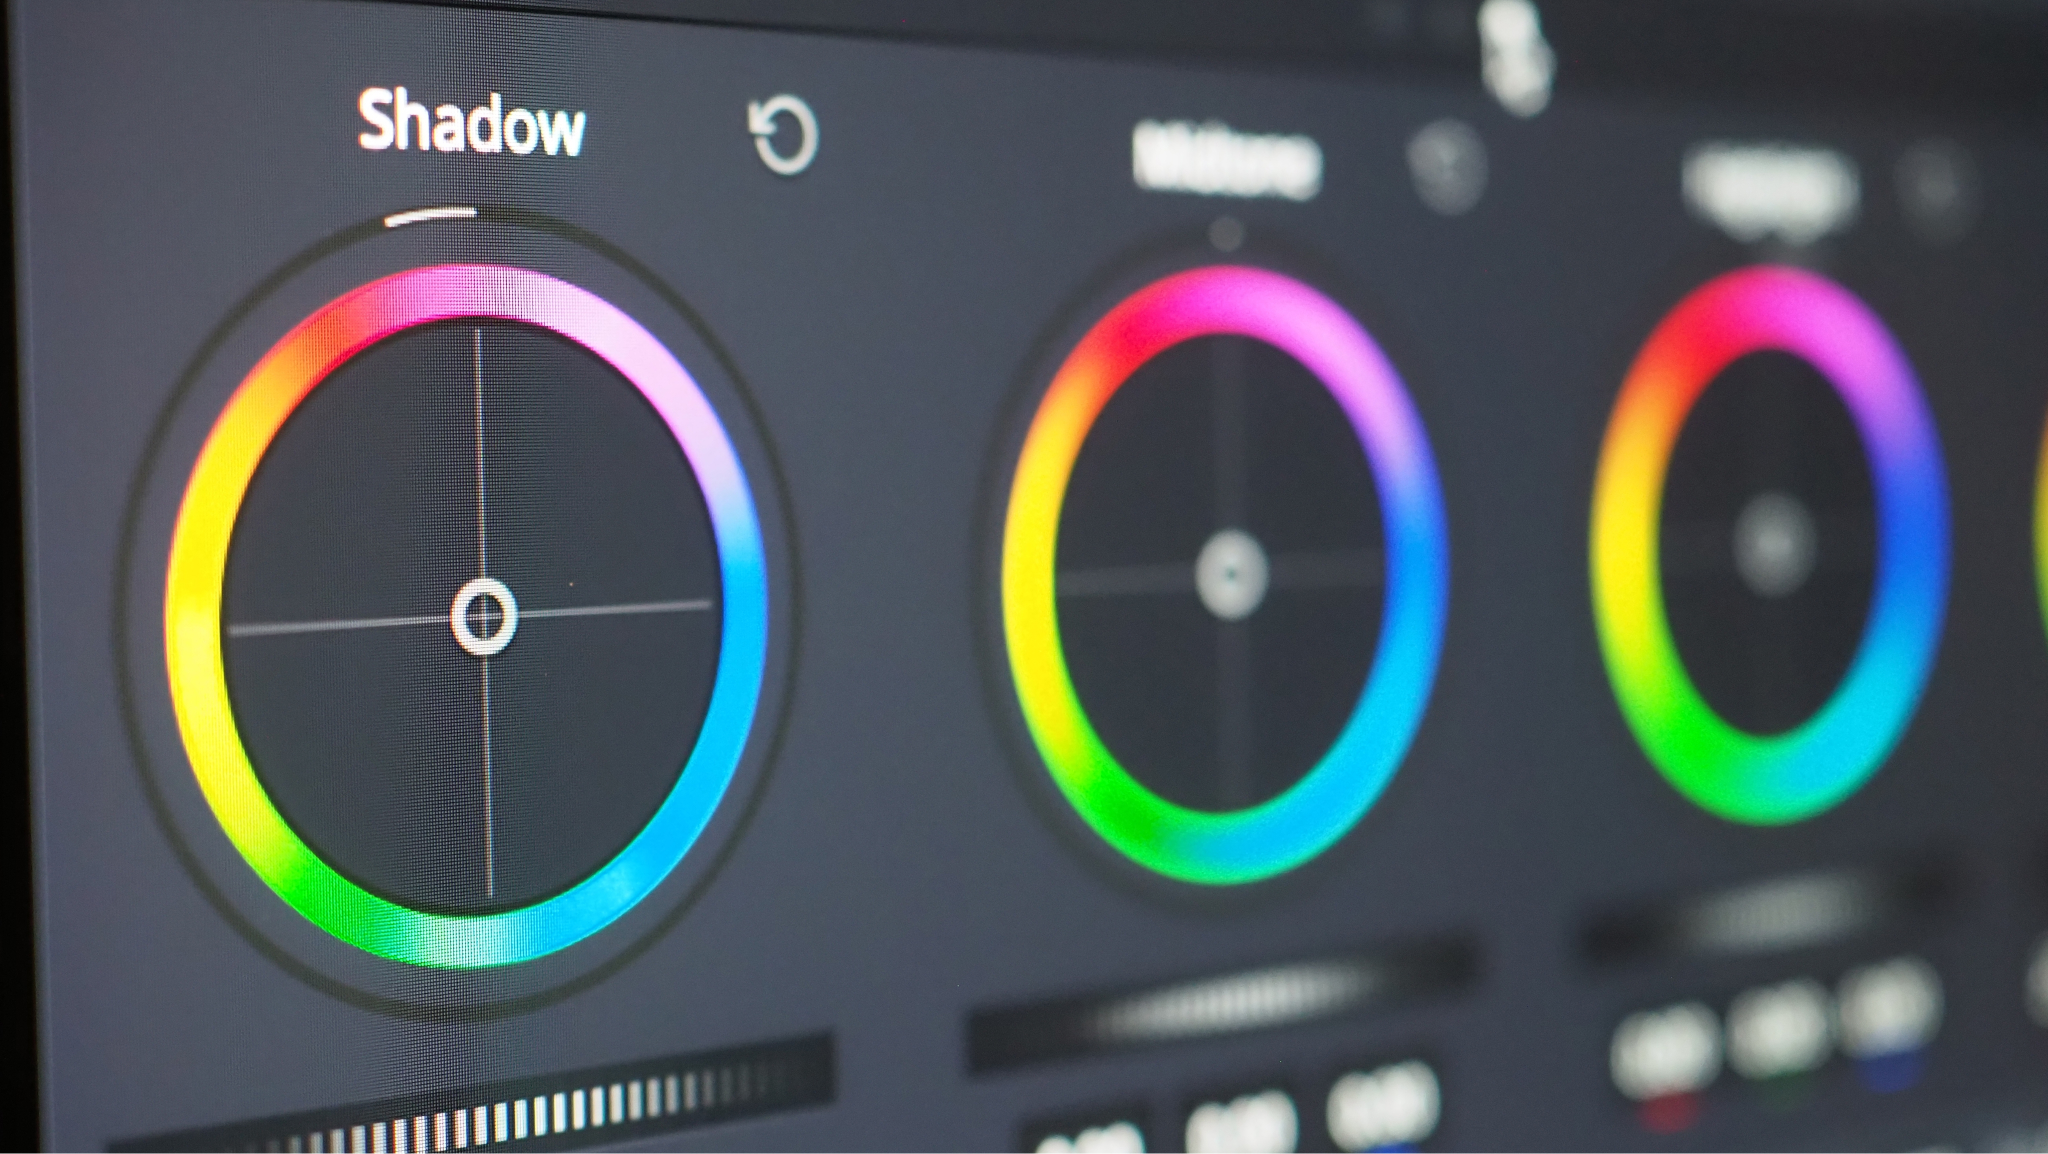
Color Wheels and Adjustments
The color wheel is a beneficial tool within most editing software that lets you adjust the mid-tones, shadows, and highlights of your footage or masked sections. Using the color wheel is often easier than making color adjustments individually. However, it can also be challenging to keep tones precise if you're only doing specific corrections, which is why some editors only use the color wheel in the color grading process.

What Is Color Grading?
Color grading is a post-production process more focused on the stylization of color, such as by emphasizing certain shades or overlaying footage with scene-changing tones. When working purely with film, the footage must be colored through color timing, though most projects today can instead be stylized digitally using color grading software.
You should generally color-grade your videos after completing color correction. This way, you can utilize already good-looking footage and avoid erasing your style during the correction process.
Technical Process of Color Grading
The color grading process uses many of the same tools as color correction, though your adjustments should be focused more on aesthetics than accuracy. Read on to learn how to color-grade video projects.
Mid-tones, Skin Tones, and Temperature
Much of color grading is about making certain subjects stand out or meet different tones. As you begin color grading, start with the following color attributes:
- Mid-tones: As the name implies, mid-tones describe the middle colors between the highlights and shadows. Mid-tones are important to balance in videos to ensure the highlights stand out. Mid-tones can also be easily highlighted to accentuate certain parts of the screen.
- Skin tones: The colors of actors' skin can be easily distorted or imbalanced throughout the production and color correction processes. Use your software's color balance levels to stabilize skin tones, often by warming them, and ensure they're balanced between shots.
- Temperature: Color temperature measures the "warmth" of an image, usually determined by the lighting being more yellow or white. Images with yellow and orange highlights tend to have warmer temperatures, while images with white and blue highlights tend to be colder.
Visual Tone for Artistic Purposes
Color grading is one of the most fun post-production processes because it gives you the creative freedom to change the image and color as you please. Color grading can help you differentiate different locations, accentuate existing color qualifiers, and add emotion. For example, descaling color temperature can make a scene feel more solemn and bleak.
However, as you try different tones and overlays, be careful to utilize iconography without running into cliches. For another example, warmer color temperatures frequently represent hot locations. However, some critics consider "yellow filters" distracting and stereotypical when overused, such as in Breaking Bad and Extraction.
Log Footage vs. True White
When color grading, compare your current color scheme to the log footage — the processed video data from the camera. Specifically, compare the white tones of the original with the "true white" of your current project.
Look for any inconsistent levels and ensure your color grading process hasn't unintentionally impaired your scene's white levels. Comparing log footage with your current color levels is useful for identifying what still needs grading and what should be reversed.
Mid-Range Adjustment for Image or Video
When analyzing your mid-tones, consider the dominant colors in the rest of the scene, particularly around where the shot is focused. Background mid-tones should generally not stand out more than the subjects, so you may need to decrease distracting tones and remove colors that match the subjects.
As you adjust mid-tones, consider the following color variables:
- Exposure
- Saturation
- Hue
- Temperature
- Tint
- Contrast
- Lightness and brightness
- White and black levels
- Green, red, and blue balances
Differences in Color Correction vs. Color Grading
The main difference between color correction and color grading is their intent. While color correction restores an image to how it should look, color grading transforms it into how the artist thinks it should look.
In other words, an effectively color-corrected scene should make you feel like you were standing physically in place of the camera, with clear shadows, highlights, and details. On the other hand, an effectively color-graded scene should be aesthetically pleasing and consistently toned from shot to shot.
Streamline Your Video Production With Royalty-Free Music
How you adjust colors in a scene can drastically change its emotion. So can audio, which plays just as significant a role in defining your project's tone, especially if you take the time to find the perfect tracks. Check out our wide variety of royalty-free audio to learn how StockMusic.net can help improve your next project.