Adobe Premiere Pro is a top-of-the-line video editing software program from software giant Adobe. Premiere Pro is used by hobbyists and professionals alike to edit videos into cinema-worthy spectacles. However, if you’re new to Premiere, the sheer number of features it offers can be overwhelming. For instance, learning how to add a gradient to a shape in Premiere can be tricky if you don’t understand the interface.
Simple tasks like this are easier than you’d think, though. Keep reading to learn how to set up Adobe Premiere and add a gradient overlay to shapes in Premiere the right way.
Getting Started
Before adding gradients to images in Premiere, you need to ensure you’ve set up your file correctly.
- Create a new project. If you don’t want to risk corrupting a file you’ve already made, you can create a new project to practice adding image gradients. Go to the Start screen in Premiere Pro, then click “New Project.” Give it a name, select where you want to save it, and then click OK.
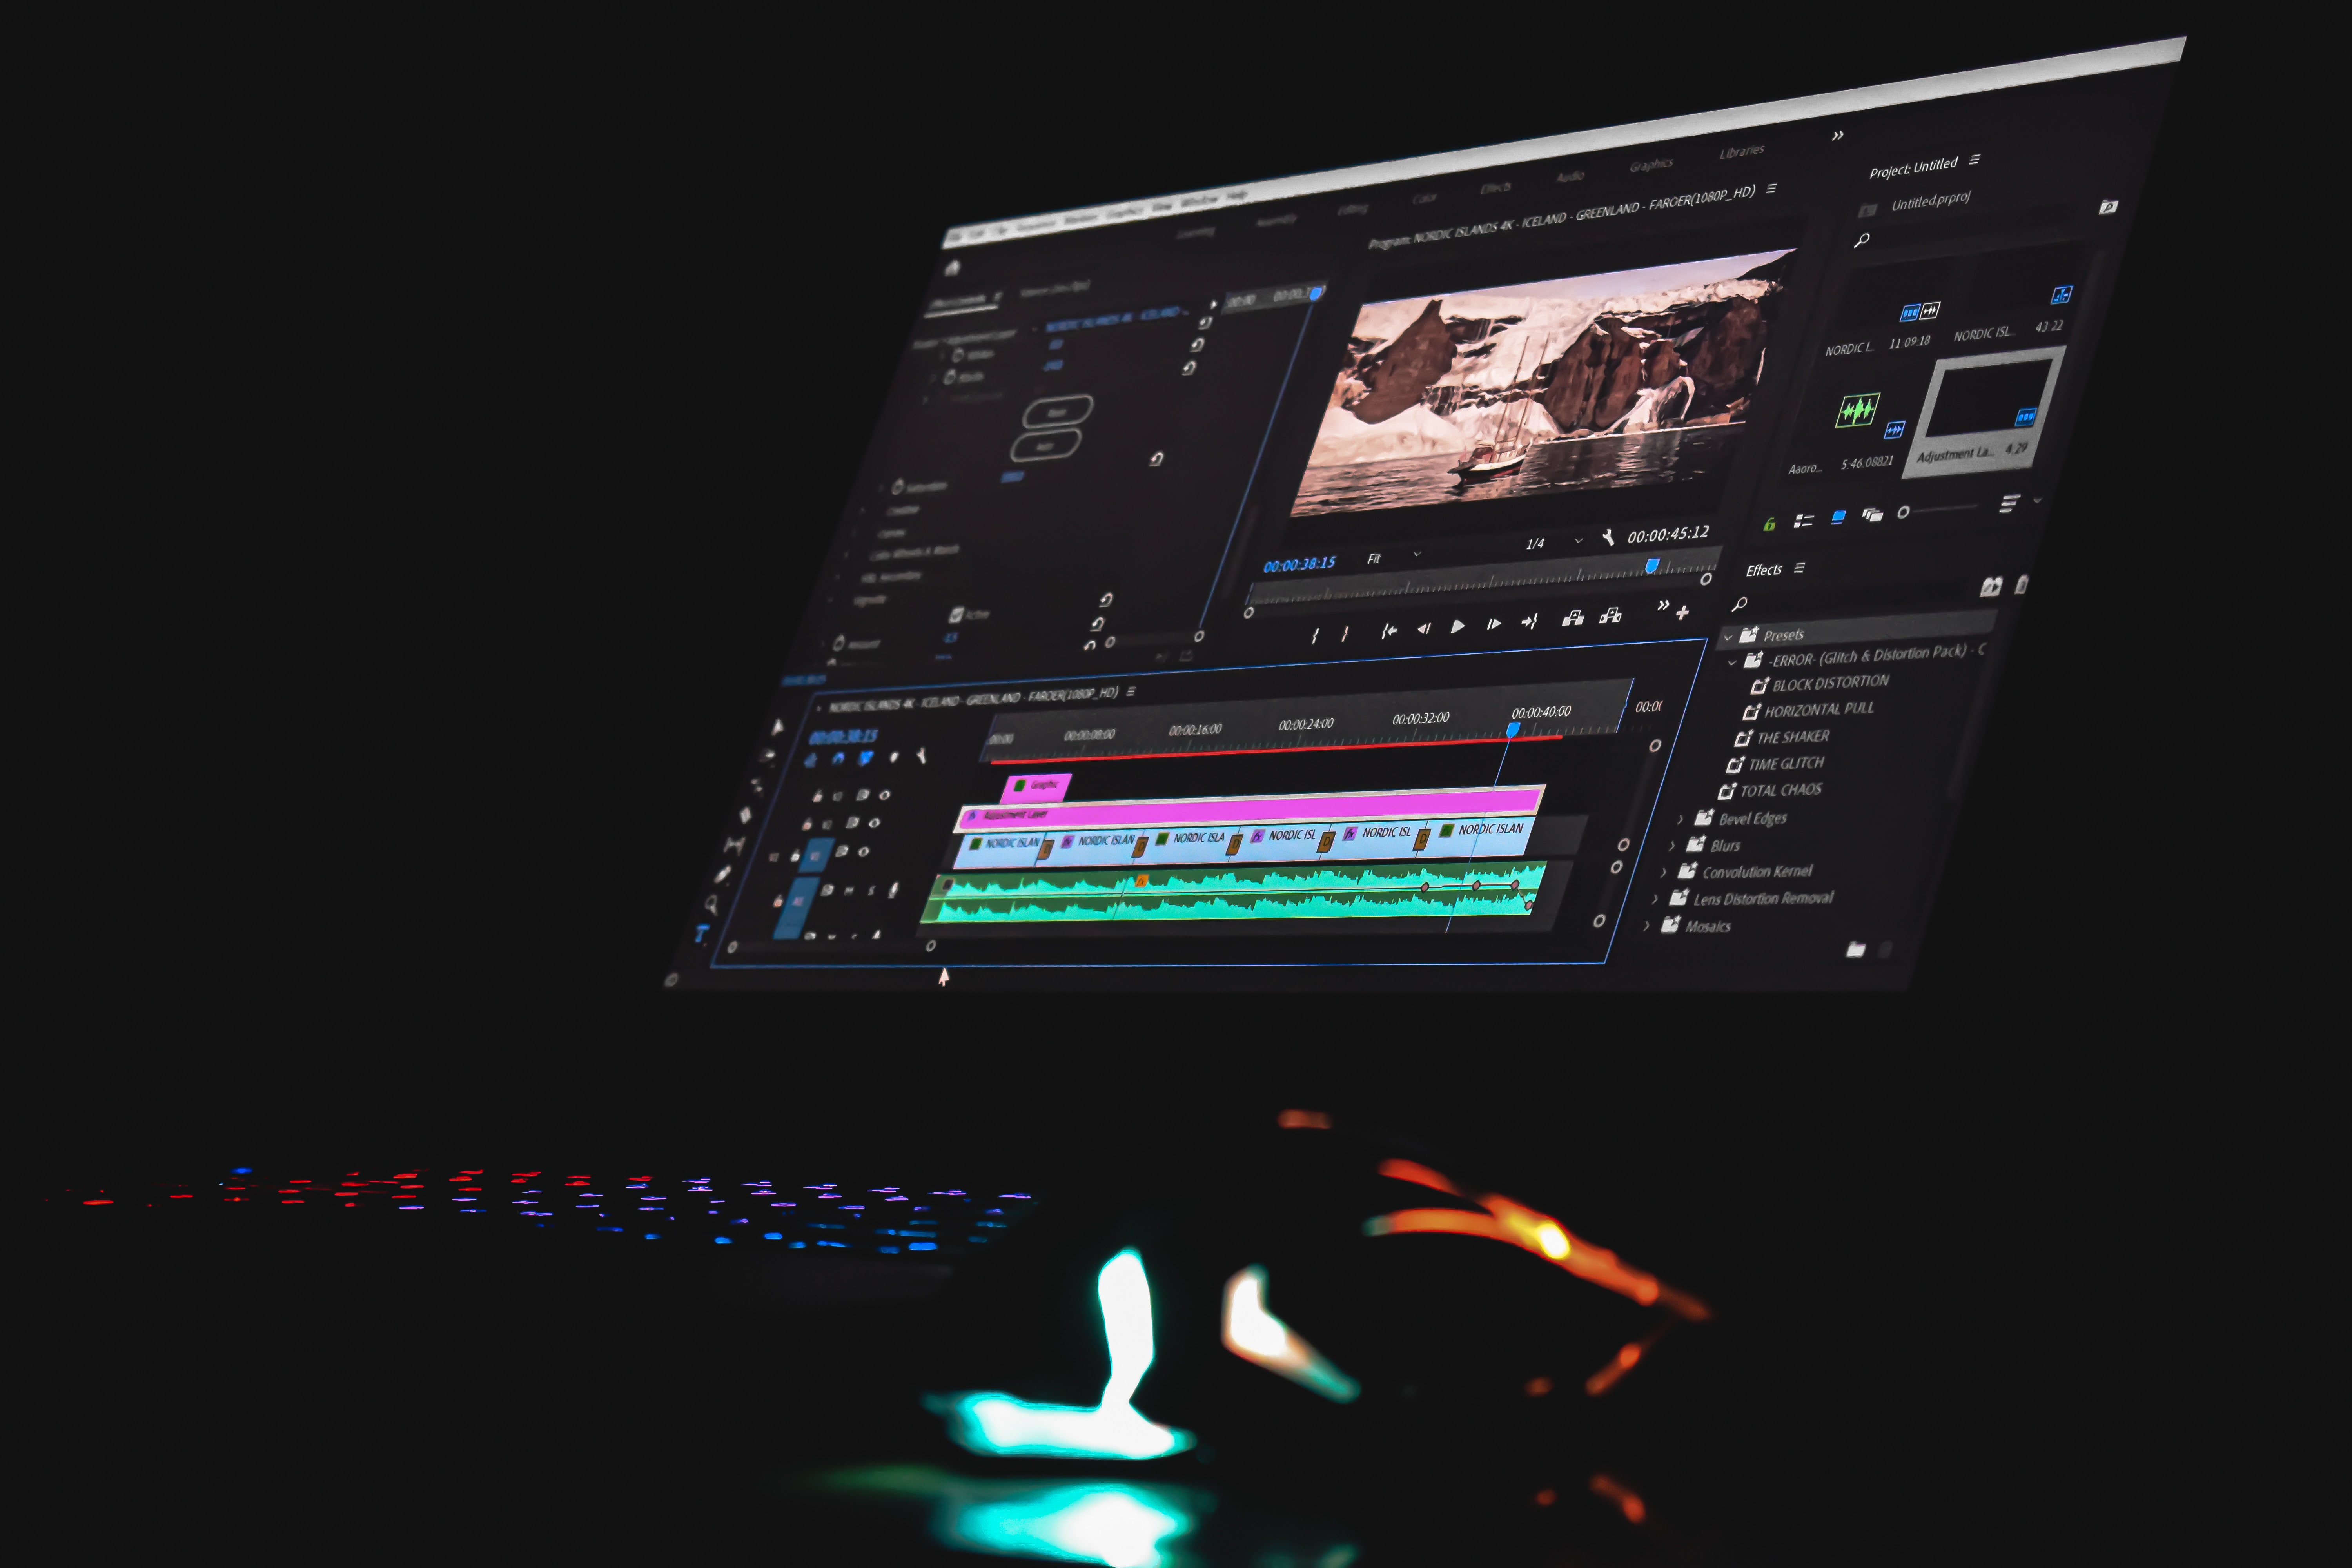
- Choose your Workspace. Once you have a project open, you can choose how you want to view things. Premiere offers preset user interface layouts called “Workspaces” that display different panels in various places on your screen. Gradients are easiest to add if you’ve already enabled the “view” option in the Essential Graphics panel in your Workspace.
- Import media files. You need to have a video or image in Premiere before you can add gradients to shapes. Visit the Media Browser panel to import files from your device into the project. From there, you can select which ones to add to your video.
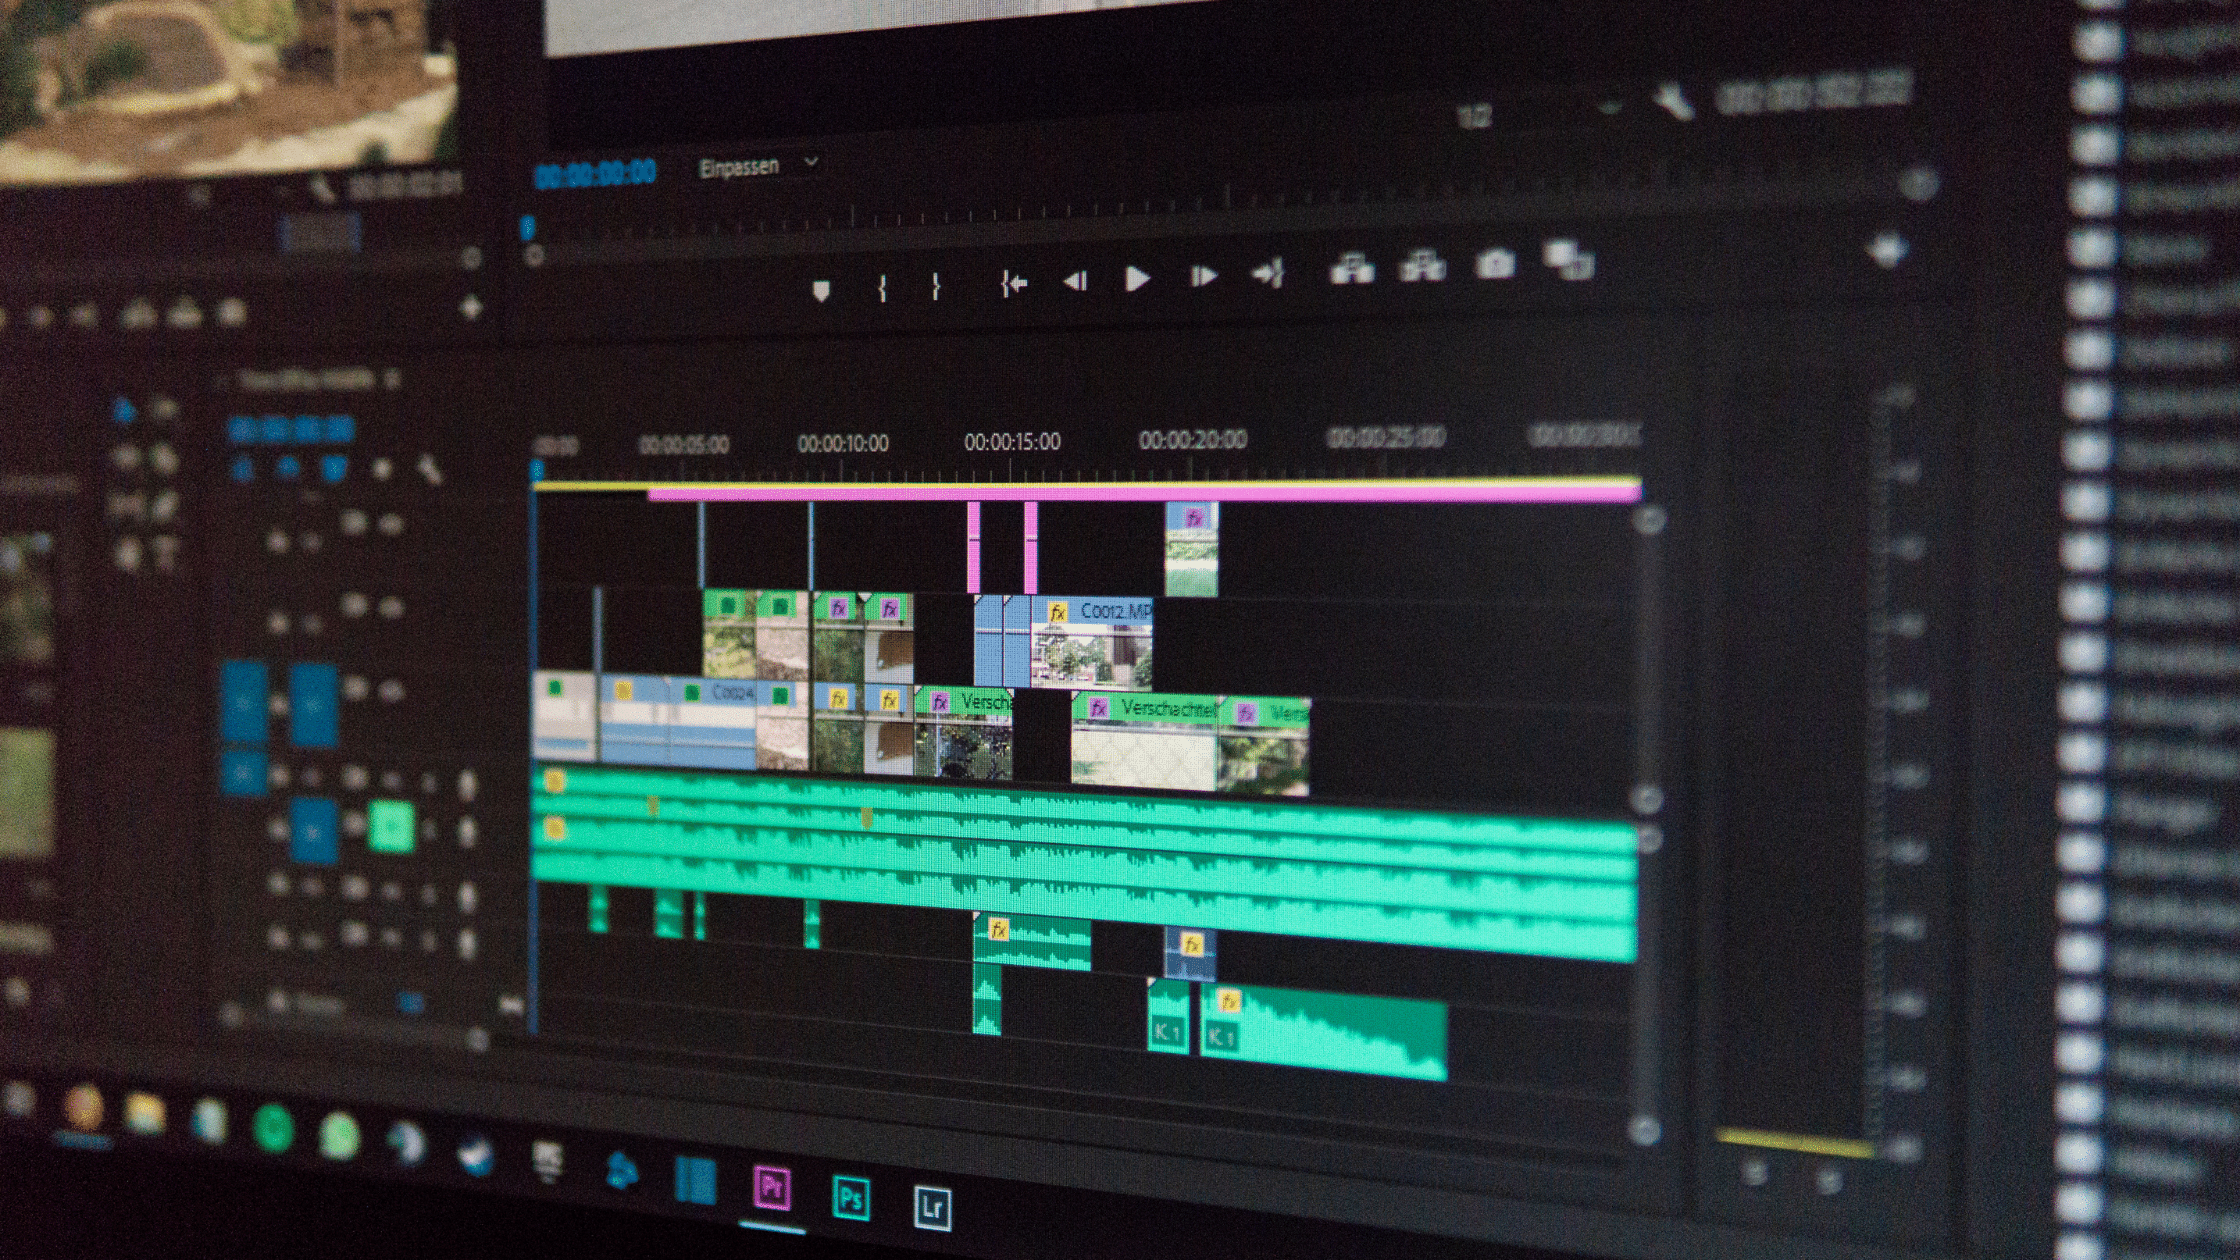
- Build a sequence. You may want a shape with a gradient to remain across multiple clips. If so, it’s easiest to set up the clips in a sequence first, then add the gradient later. Create a sequence by dragging your chosen clips into the Timeline Panel or right-clicking clips in the Project panel.
Once you’ve done this, you can add shapes to your clips and sequences. From there, you can customize them with gradients to make your video stand out.
Adding a Gradient Overlay to Shapes in Adobe Premiere
Now that you’ve double-checked all of your file settings are correct, it’s time to learn how to add a gradient to a shape layer in Premiere. It’s as simple as following these steps:
1. Create a New Shape Layer
To add a gradient to a shape in Premiere Pro, you first need to create a new shape layer.
- Go to the Essential Graphics Panel on your Workspace. If it’s not visible, click “Window” in the toolbar, then scroll down and select “Essential Graphics.” The panel should pop up.
- Click “Graphics” in the toolbar, then hover over “New Layer.” You should see an additional menu that gives you options including “Text,” “Rectangle,” and “From file…” Choose your preferred shape.
This will add a new shape layer to your active sequence. “From file…” allows you to choose from images on your desktop. This will help you to add a gradient to an image instead of a shape.
2. Create a Gradient
Next, it’s time to create the gradient you want. Once the shape is created, you should see a menu with various options at the bottom of the Essential Graphics panel. Here, click the eyedropper symbol to open the Color Picker window.
In this window, there is a drop-down menu at the top left. Click on it to see your options. You can choose from solid fills, linear gradients, and radial gradients. Select the one that you prefer.
Next, use the color picker tool and the toggles in the window to create a gradient that looks right to you. You can adjust the gradient’s opacity, length, and colors here. Once you’re satisfied, click OK.
3. Adjust in Program Monitor
You can make further adjustments to things like the shape’s scale value, the gradient’s location and shape, and the opacity of the image in the Program Monitor panel. Select the shape in Program Monitor, then drag the dots and lines that appear to adjust the size and location. You can also tweak the settings along the right side of the screen to refine the gradient more.
That’s all it takes to add a simple gradient to a shape in Adobe Premiere Pro. However, a few Premiere Pro speed tips can help you make the process faster.
Adobe Premiere Pro Tips and Tricks
Learning some Premiere Pro cool tips can help you speed up your editing process significantly. The two best Adobe Premiere Pro tips for gradients are:
Use Copy and Paste
Once you’ve created a gradient image, you don’t need to remake it from scratch if you want to reuse it later. You can select the image, right-click it, then select “copy” to copy it wholesale. You can paste it anywhere else in the sequence where you need that gradient.
This is especially helpful for gradient text because all you need to do is type new text into the box to replace it. You can also tweak the gradient’s appearance by returning to the Color Picker window if you want to switch things up without starting over.
Apply Gradient Masks
Gradient masks are a bit different. Premiere masks allow you to add overlays to your clips in addition to extra shapes. You can make a simple color-to-grayscale gradient by adding the Crop effect to a clip. Select the area you wish to remain colorful, then use “Crop percentages” to remove regions from the shot. You’ll get a central area of color surrounded by a gradient that fades to black and white.
Explore the Full Range of Gradients in Premiere Pro
Gradients are a popular way to add visual interest to videos. Now that you know how to add a gradient to a shape in Premiere, you also know how to make your videos pop.
You can complement your videos by adding high-quality stock music and effects from StockMusic.net. Explore our full catalog of music and effects and see what sparks your creativity.


Pingback: How To Make the Most Out of Virtual Video Production - stockmusic.net Blog
Pingback: blue magnolia rust
Pingback: wonderland edibles